Who doesn’t want perfectly cooked pizza? With a gorgeous crisp on the crust, blistering on the side and evenly cooked toppings are what we are looking for each time we dig in for this classic meal. Little did we know, the taste and the way the pizza is cooked a whole lot more to say on what kind of wood was used in cooking them.
You might be asking, are there really the right or the wrong wood to use in cooking pizza? Yes, there is! This article will show you the right woods you need to use the next time you crave a delicious homemade pizza for dinner.
⦿ Recommended Woods
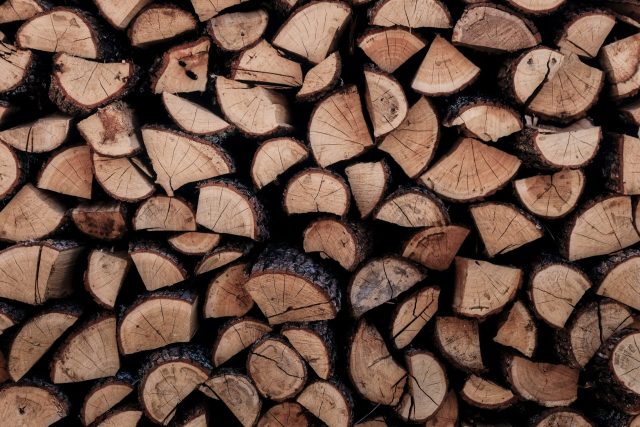
There are different kinds of woods you can use but you have to keep in mind that it has to be dry and seasoned kinds of hardwood, kiln-dried hardwood. The highly recommended type of wood would be Kiln-dried hardwood. It is almost always readily available everywhere, the burns of it are consistently hot which is good for keeping the fire temperature at an ideal level.
Birch and maple woods can also be used as well as alder and ash. Difficulty in finding supplies is one of the biggest factors here unless you have a dozen of birch trees in your garden to supply your baking needs.
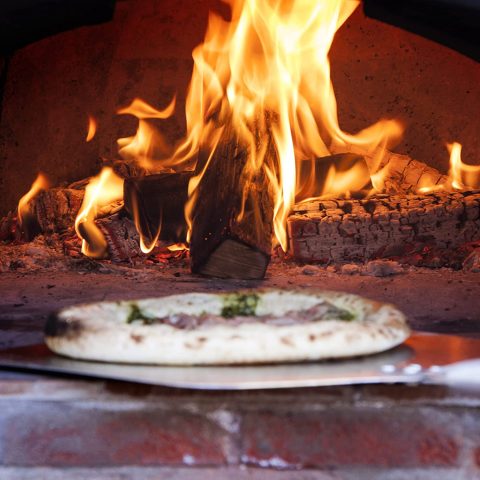
The secret of some of the most accomplished pizzeria around is by using fruitwoods in their pizza oven. Specifically apple woods. It creates an aroma that adds subtle flavor to the pizza. Apple wood also burns very hot which is what we are looking for. Other fruit woods can also be used such as cherry, pear, and almond.
Click here to view Kiln Dried Hardwood
⦿ Woods To Avoid
If we have recommended woods, we also have the wood you should not use inside your wood-fired pizza oven. Laminated or the pre-fabricated woods. Examples of these are the plywoods, woods that are manufacture and treated to be sold as construction materials. Chemicals and toxins that are treated with it might transfer their micro module component to your food and we do not want that.
Using charcoal is not advisable as the process of burning charcoal releases a higher amount of carbon monoxide which may heighten the level of toxicity in your food. Charcoal also does not transfer the burning heat inside the pizza oven efficiently.
Resinous woods are also not advisable to be used in a pizza oven due to their high oil substance inside. It will only coat the oven chimney with creosote that can leave long-term damage to your chimney.
⦿ Elements to Consider When Choosing Wood For Pizza Oven
1. Moisture content
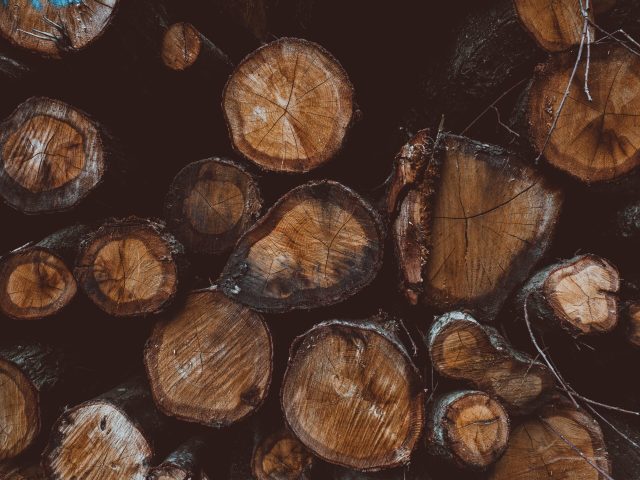
The right moisture content of you is about 20%. You have to examine the end part of the wood, the right color should be greyish and it should have radial cracks in between. When you see these signs, then your dried woods are already seasoned and ready to use.
Moisture content lower than 15% can be classified as overly dry and can only produce too much smoke when fired out in the oven. It also creates a lot of creosote that can stick inside your oven for a long time.
Using a freshly cut tree or what we called “green woods” is not recommended. Greenwoods can be compared to a sponge that is soaked in water. They still hole so much moisture inside and it needs time to dry them out. Burning freshly cut wood will produce poor heat temperature inside the pizza oven and will create an extreme amount of smoke when burned.
There is this moisture gauge you can purchase and use to make sure you got the right moisture before throwing them in the fire.
2. Storage area
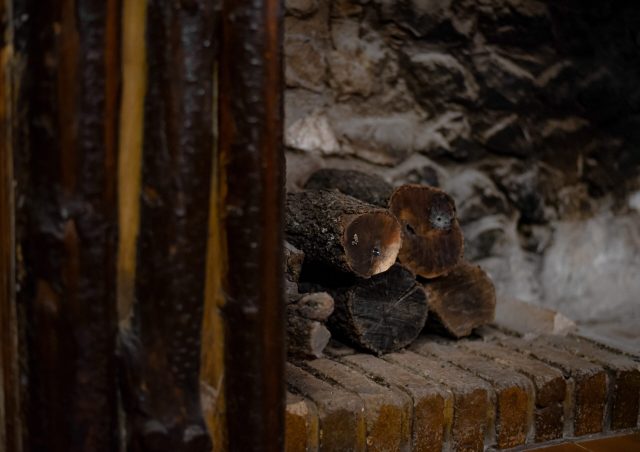
The biggest factor in finding the perfect storage area is the way your wood stock would be free from moisture, keeping it dry. Make a foundation that is 3 feet high to make sure rain won’t touch them. Most pizza oven owners store some woods below their pizza oven which is fine, just make sure it is safe from any weather-related problems like rain and storm.
Manage your storing plans. Oversupply of woods can lead to overly dried woods which is also not advisable. Know how much wood you consume per week and plan from there.
A woodshed is a high-scale way of storing your dried woods. woodshed should be made out of waterproof walls and roofs. Organized racks for woods and places where you can do the cutting and drying of the woods.
3. Drying Your Firewoods
It is important that you do the proper way of drying your firewoods otherwise you might just end up with a dump and moldy woods. The very first thing you need to do is to cut them in the right length. Cut them according to how big your oven is, keep in mind, they should fit in at the rear part of the oven.
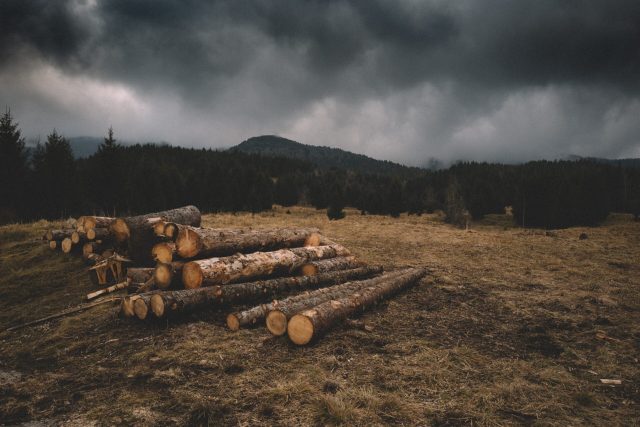
Split the woods to allow a faster drying process for about 10 times faster. Split as many as you can so you can dry them all up faster. The ideal split size is about 4 inches in length and 10 cm thick.
Stock the logs with allowance for air gaps, you will need an adequate flow of air in between the gaps to circulate the process of drying. Try leaving your woodshed open so the air can flow freely, make sure to do this in good weather conditions.
Provide a roof for your woodshed, direct sunlight is best but we would not want the rain to wet them out so make sure you have a roof for your woodshed.
To fasten the process of drying, you can dry your woods out in the sun during the daytime and pile them back into your woodshed during the night. Don’t do this under unpredictable weather conditions.
The size of your wood stack should remain small. They tend to dry much faster at the small and narrow woodpiles. Avoid having wide woodpiles because they tend to dry slower because of the volume that they have.
Never arrange your woodpiles near the wall. It will prolong the drying process. Any huge objects such as walls buildings, trees, or any structure that may hamper the airflow are not recommended.
The process of drying the logs may sound overwhelming to some especially to busy individuals. Kiln Drying is basically a technology where you put freshly cut logs or the greenwoods that we called into an oven and instantly reduce its moisture content. The kiln will control the surface temperature and environmental humidity to drastically dried out the kiln dried logs. This could be an instant solution to drying problems but it can somehow be very costly.
⦿ How to Properly Burn Wood For Cooking Pizza in an Oven
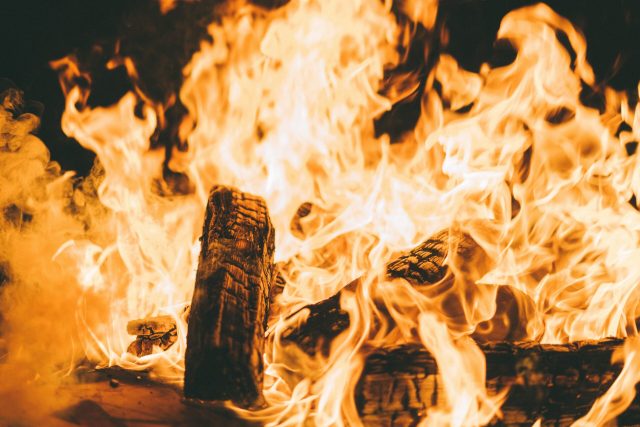
Burning the wood to start the cooking may sound easy but not. Failure to do the right thing might lead you to waste your time trying to fire up the oven.
First, you need to open the chimney vent and the pizza oven door. This will allow airflow inside that is one of the most important elements in putting up a fire. Keep both open the entire time you are trying to put up a fire.
Collect tiny pieces of wood, this is where the fire will begin. Create a “tee-pee” shape before lighting a match to the fire. Wait for the fire to build up. Slowly add bigger chunks of wood into it. Continue adding woods bigger and bigger until you attain the desired build-up of fire.
Close the fire control opening and start pushing the fire backward if you’re using the traditional wood-fired pizza oven.
⦿ Conclusion
Finding the right kind of wood for a pizza oven is just as important as finding the right dough for your pizza. Learn the right kind of woods and be informed about the information that can help you choose in the future.
The right woods depends on what is available in your community, in case you might not have those highly recommended woods available around as long as you know the proper way of drying and storing wood logs you should be fine.
⦿ FAQ
Q: How to build a wood-fired pizza oven in your backyard?
A: Building your own wood-fired pizza oven doesn’t have to be complicated and always costly. Below is how you can start building your DIY wood-fired pizza oven in your backyard.
- Determine a spot where you would want to build your pizza oven. Keep in mind that the wood-fired oven should be permanent so manage a spot appropriate for this.
- Materials you need based on standard brick wood-fired ovens:
- 20 solid bricks with no holes for the formation of the oven floor.
- 10 bricks with perforations.
- Breeze blocks about 20 pcs
- 5 kg of cement
- Stones and rubbles
- 14 bags of 20 kg each of sands
- 175 kilograms of clay
- plant pot for chimney
- 6kg wood shavings
Make clay and sand mixture, mixing it is often the hardest part of this process.
Make a foundation of your oven using the breeze blocks. Dig shallow on the ground for about 4×4 feet. The foundation needs to be sturdy and solid so you need to fill in the square foundation with rocks. Completely cover this up with another breezeblock.
Create a dome-shaped structure on top of your foundation from the damp clay and sand mixture. First, you need to create a dome shapes dry sand having the right height of about 45 cm in height and 80 cm in diameter.
Once you’re done with the dry sand, cover it with the sand and clay mixture. After you have finished forming a dome liked structure cover it with old newspapers to prevent the damp clay mixture from drying out.
Let it sit for a bit and dry for 4 hours. Cut an opening that is about 20 cm high and about 35 cm wide.
After cutting it out you have to scoop out the dry sands inside the dome that you dried out. Let the dome completely dried out overnight
Lit a small fire inside the dome so the clay inside will completely dry out and be solidified. Create a brick opening for your oven.
Mix 4 liter of water and clay until you achieve the cream consistency, mix it with 14 liters of wood shavings. Cover the outside dome with this mixture, this will stand as the heat insulation element for this wood oven.
Create the final shell of this wood oven. The mixture needed is the same mixture we deed with the first layer which is the mixture of sand and clay.
Completely cover the entire dome and smooth out the surface. Let it dry for about overnight.
Your DIY wood-fired oven is now ready to use!
Q: How to use a wood-fired pizza oven?
A: In using a wood-fired pizza oven, the main thing you need is wood. Not just any wood you can see around, it needs to dry.
Gather around tiny sticks with papers on one side of the oven, better if you could draw in some dry papers too but not too much.
Fire them up and continue building up a fire by adding bigger pieces of wood to accelerate the fire inside. When you think the build-up of fire is enough, having the right amount of dried wood that can hold the fire until you finish baking, slowly start pushing the fire right at the back end of the oven.
Check the temperature and once it reaches the pre-heat temperature that is required you can put in your pizza or bread or whatever it is you’ll be baking inside.
Q: How to make a wood-fired pizza oven?
A: You can follow the given instruction above on how to build your DIY pizza oven. You can adjust the sizing depending on your preference of choice if you want it big or just the small ones.
Click here to get Kiln Dried Hardwood at a Discounted Price
The post The Best Wood To Use For Wood-Fired Pizza Oven appeared first on Dumb Little Man.


0 Commentaires